
My Store
The Hanging Lake
The Hanging Lake
Couldn't load pickup availability
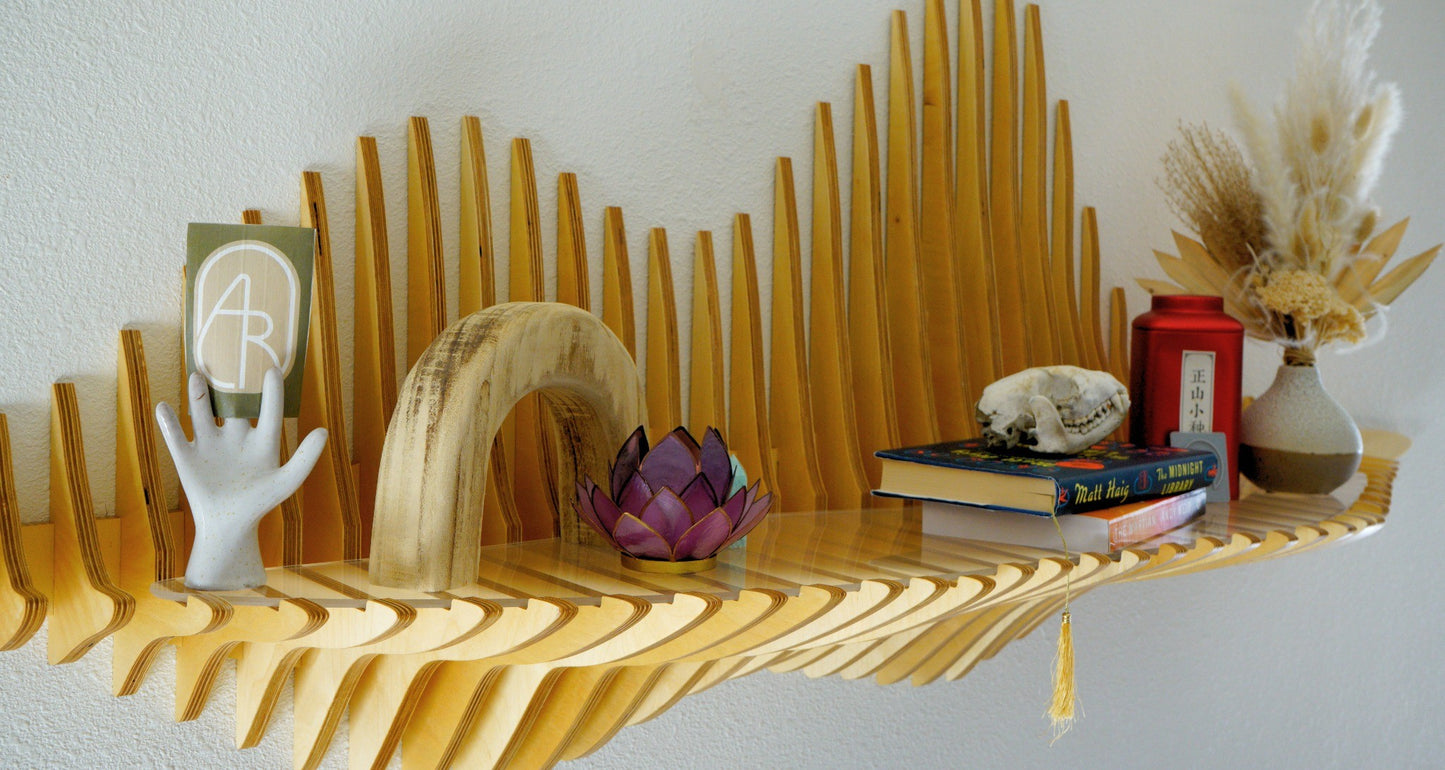
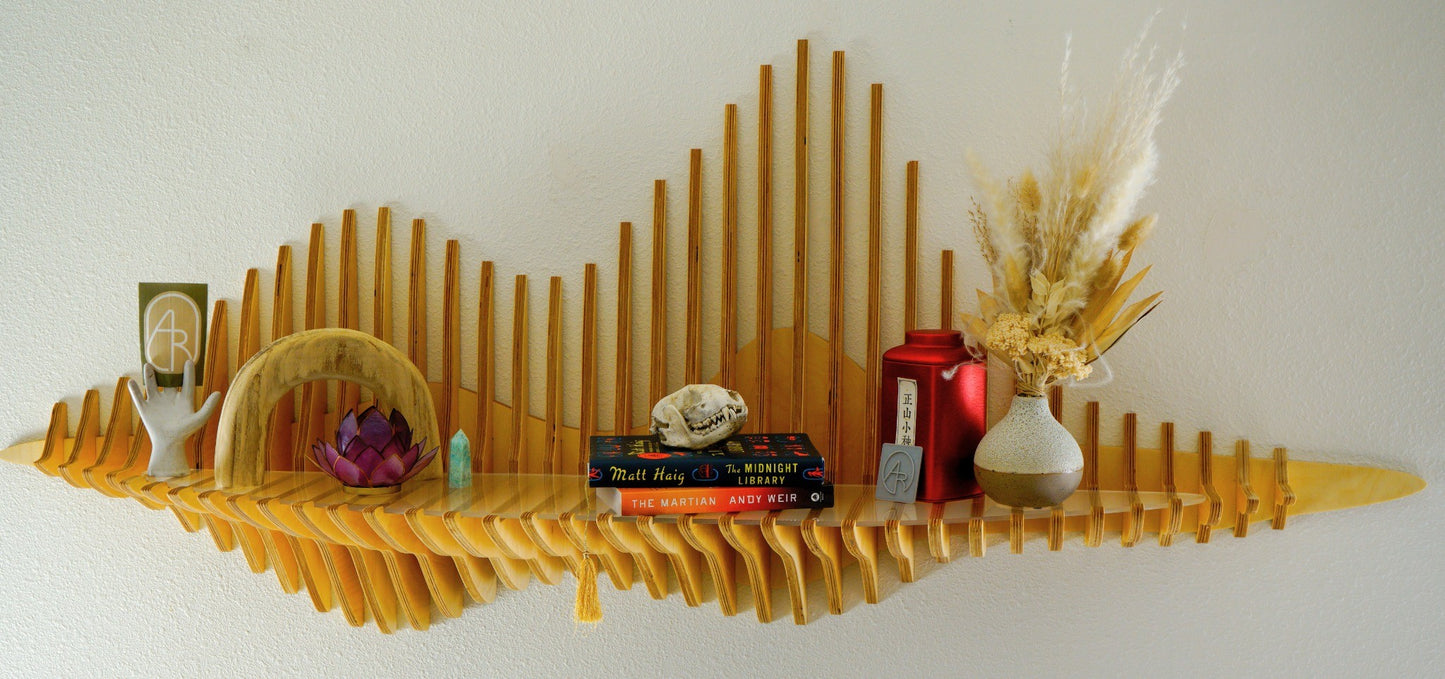
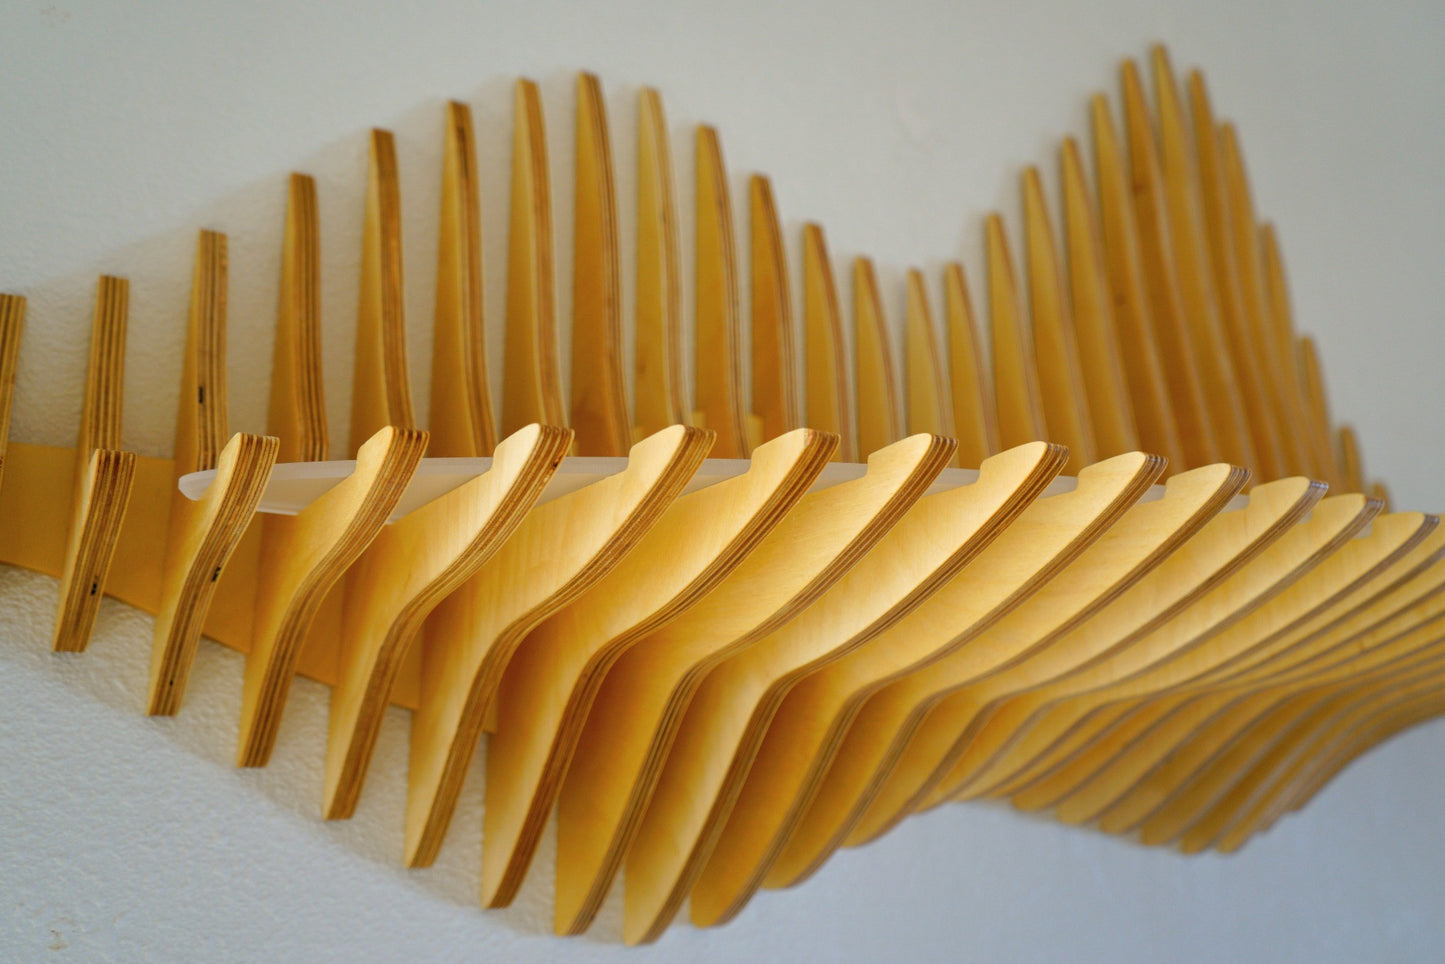
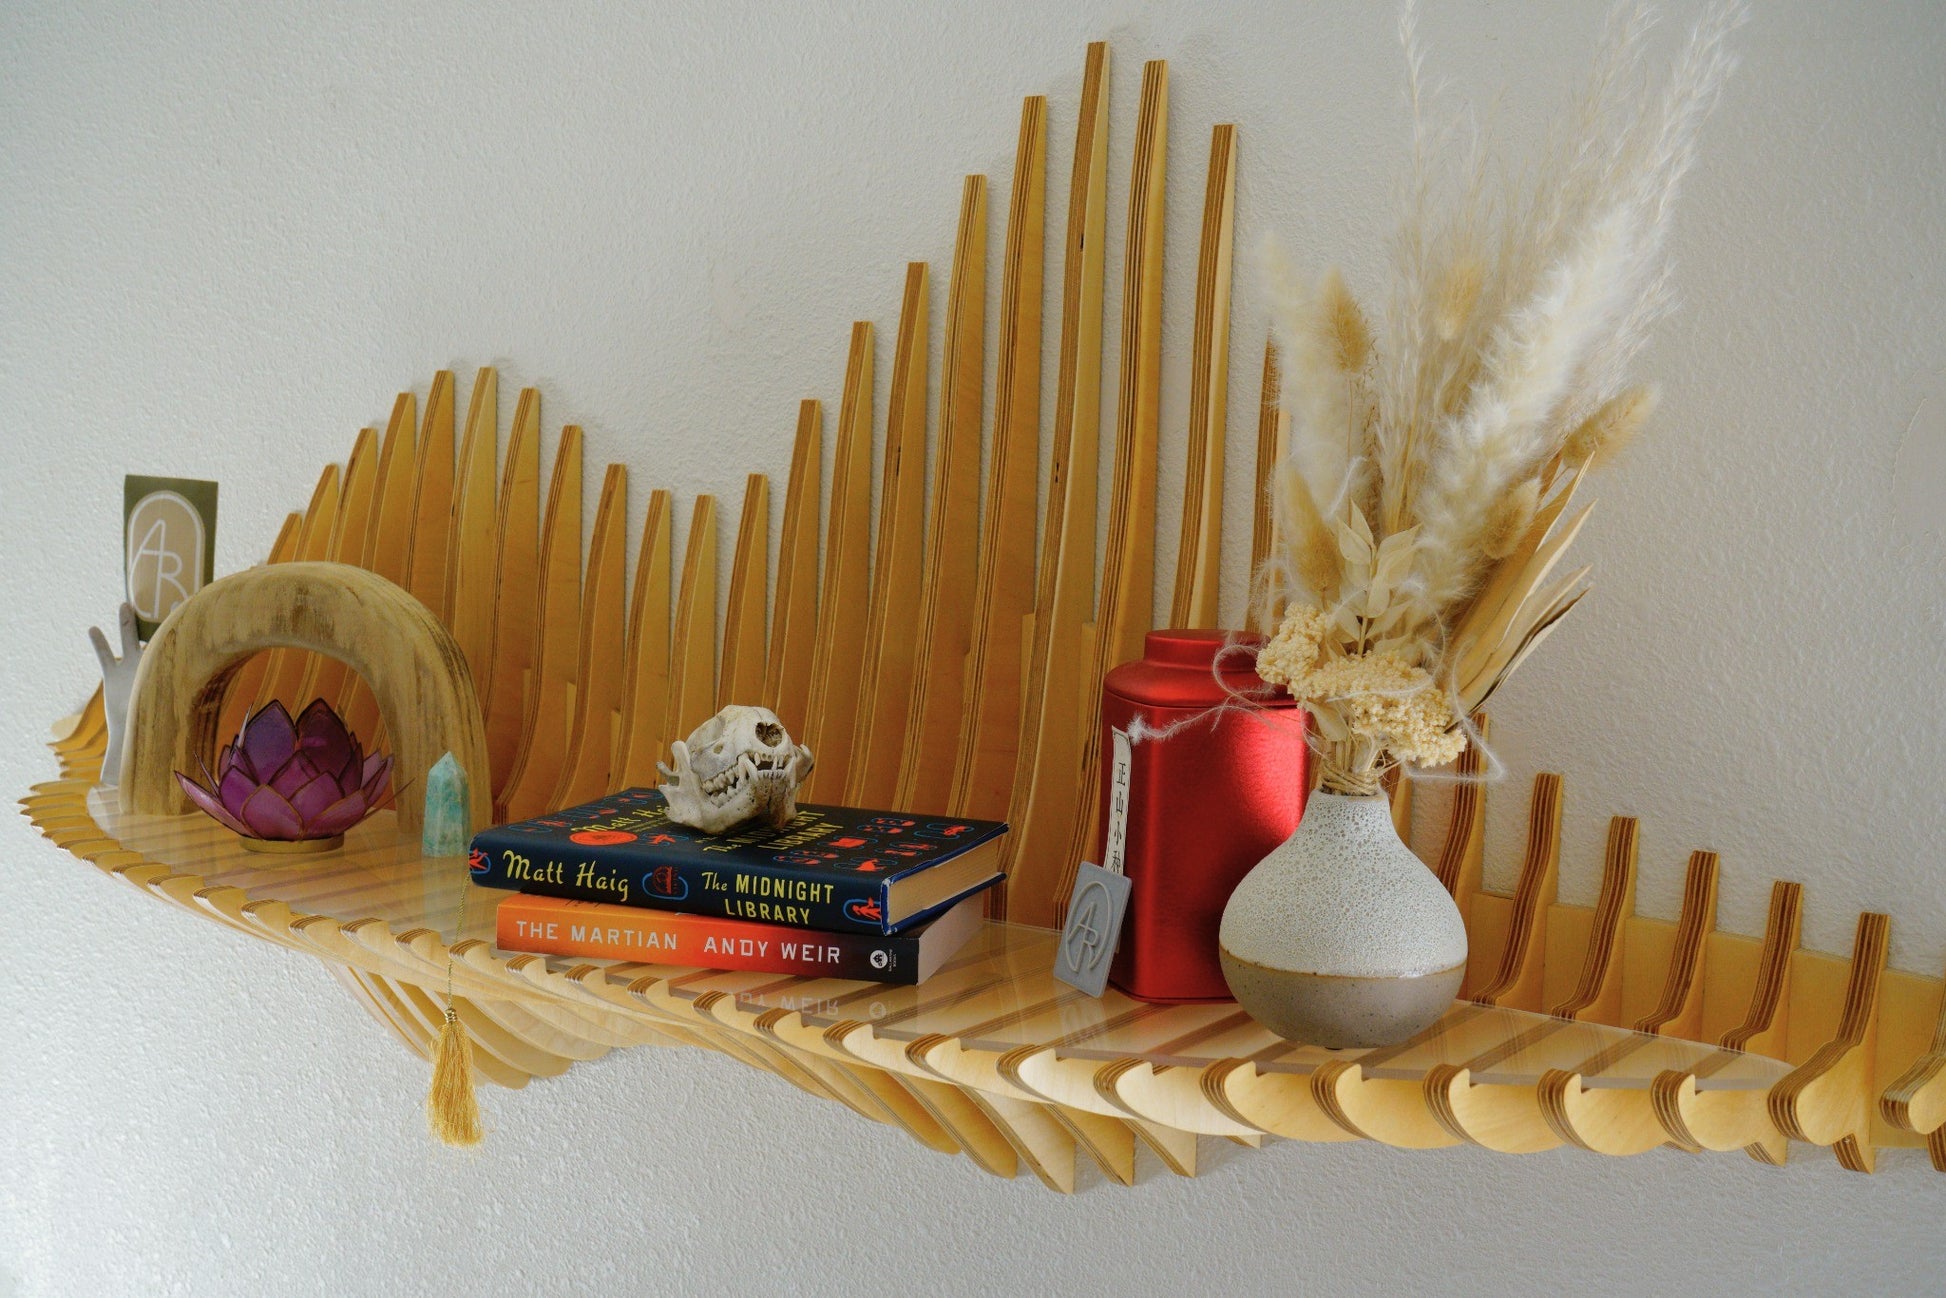
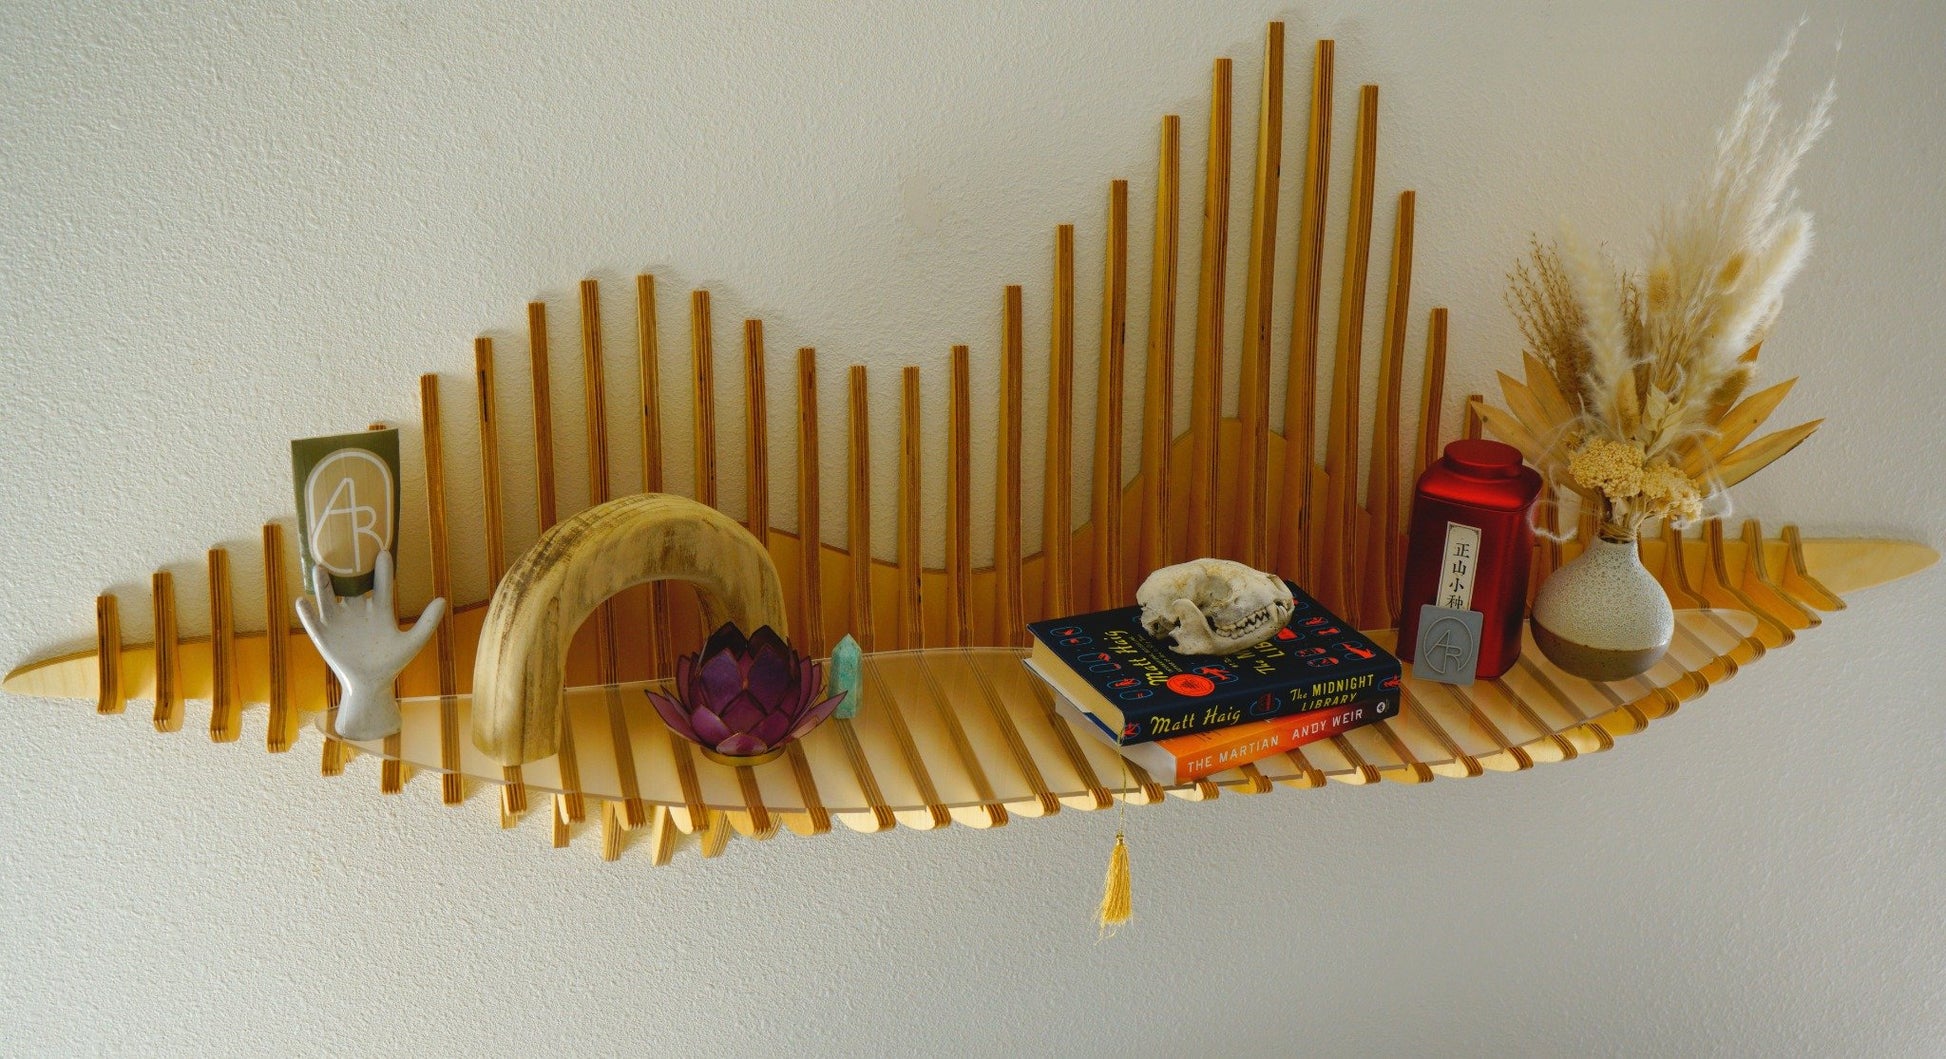
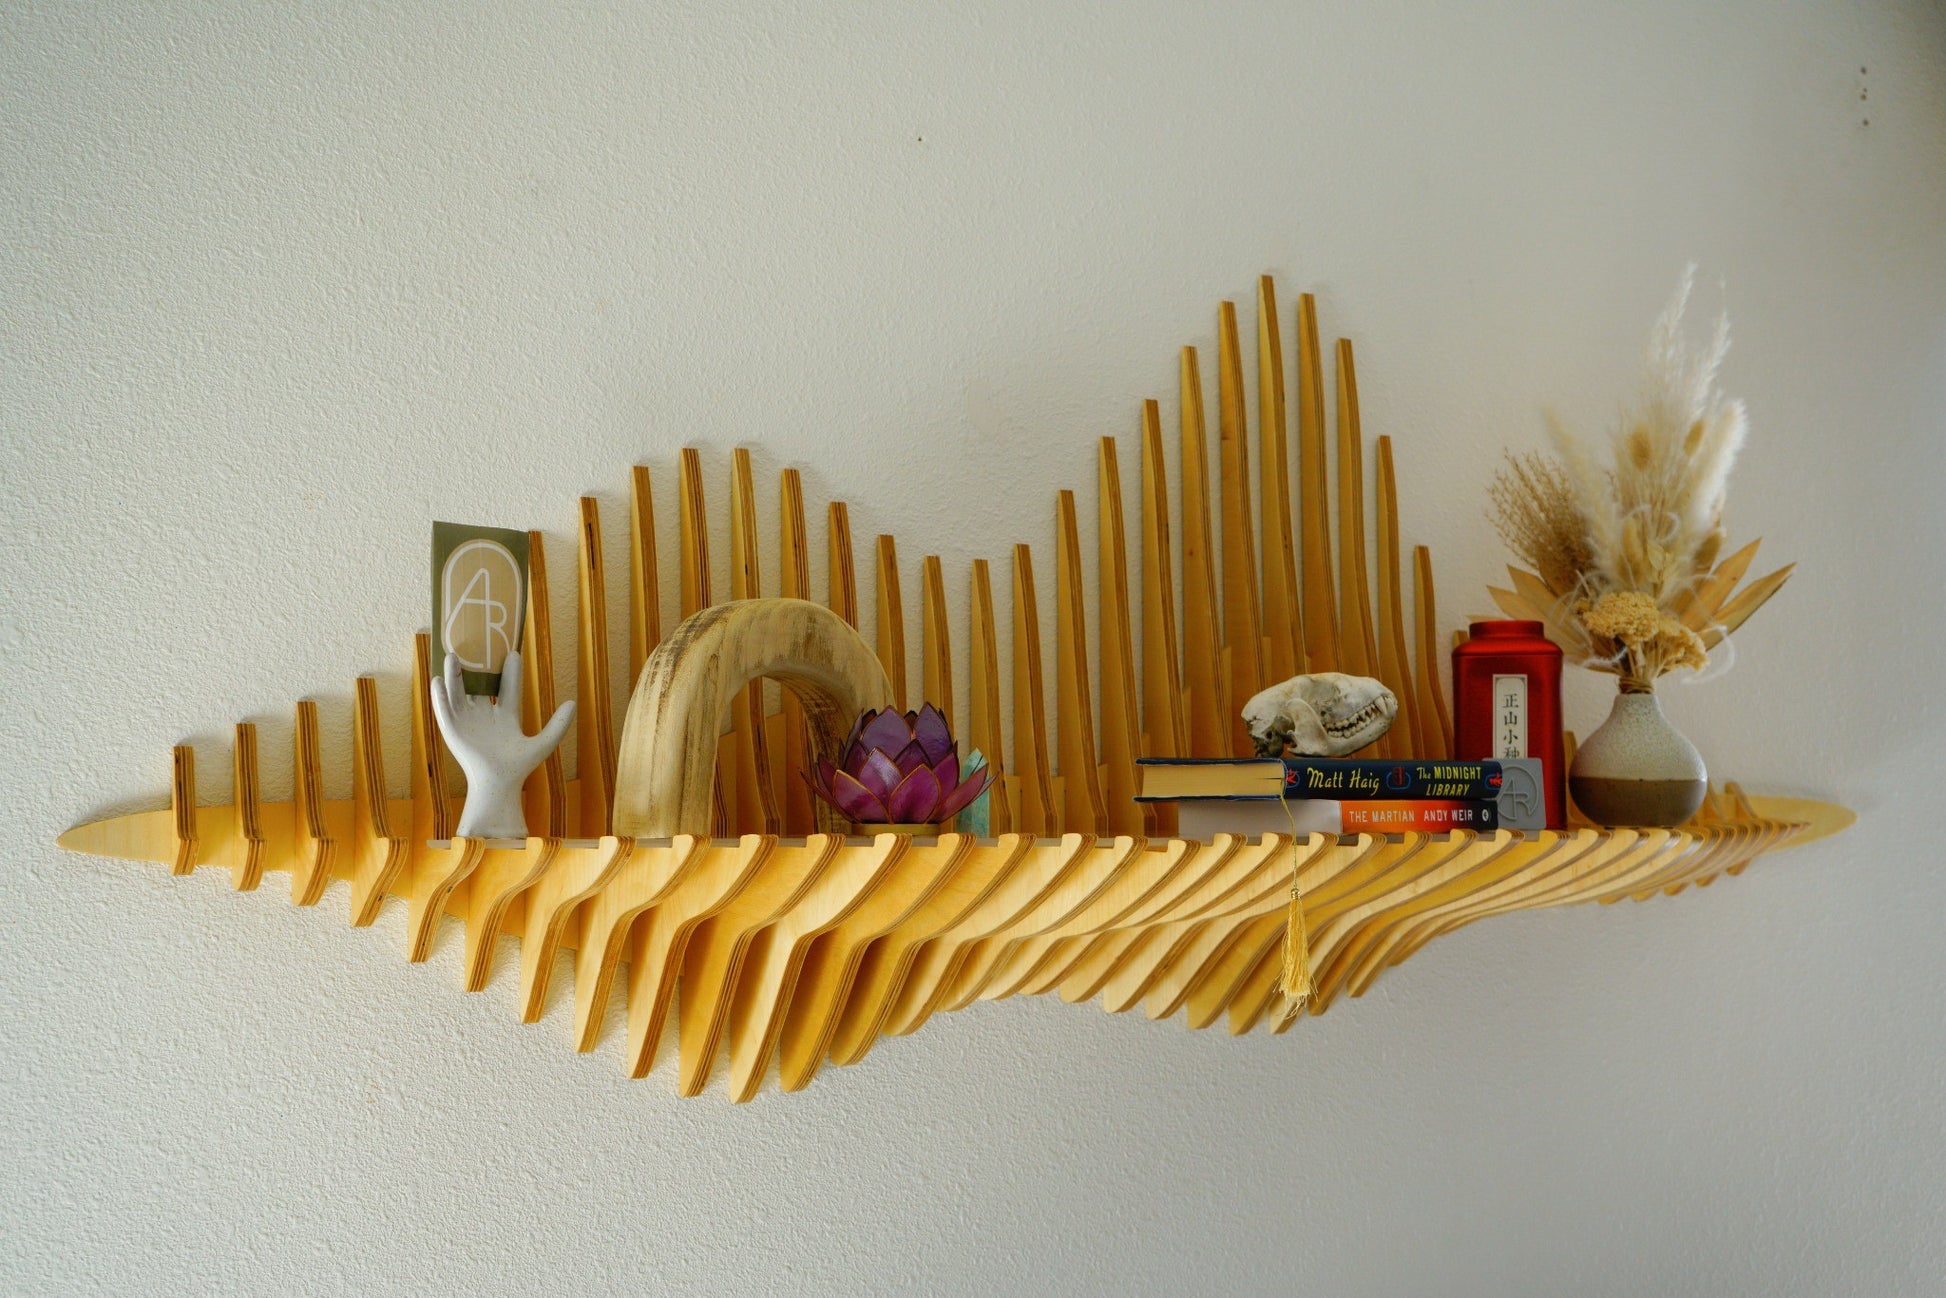
Utilizing the up-and-coming concept of parametric design, the rigid pieces of this shelf morph into a free flowing, organic shape when assembled.
Why You’ll Love It:
The fluid parametric design turns your wall into a talking point, while the custom-fit frosted acrylic topper ensures your books, plants, or pictures have the perfect perch.
This is a woman-owned small business — and your purchase supports art, independence, and thoughtful design.
Product Features:
◍ Original Parametric Design
– zero MDF, zero mass production
◍ Premium 1/2" Baltic Birch
– the ideal combination of strength and stability
– finished with Osmo Polyx-Oil
◍ Custom 0.22” Thick Acrylic Overlay
– makes display practical without compromising design
◍ Wall-mounting Hardware Included
– easy to install
– includes:
-
- 4x GRK Deck Screws
- T-25 Torx Bit *
- 3 Drywall anchors
- Miniature Level
- GRK screws have a unique anti-slip head design which many people may not have the right bit for)
◍ Shipping
– free within the US (excluding Alaska and Hawaii, sorry guys)
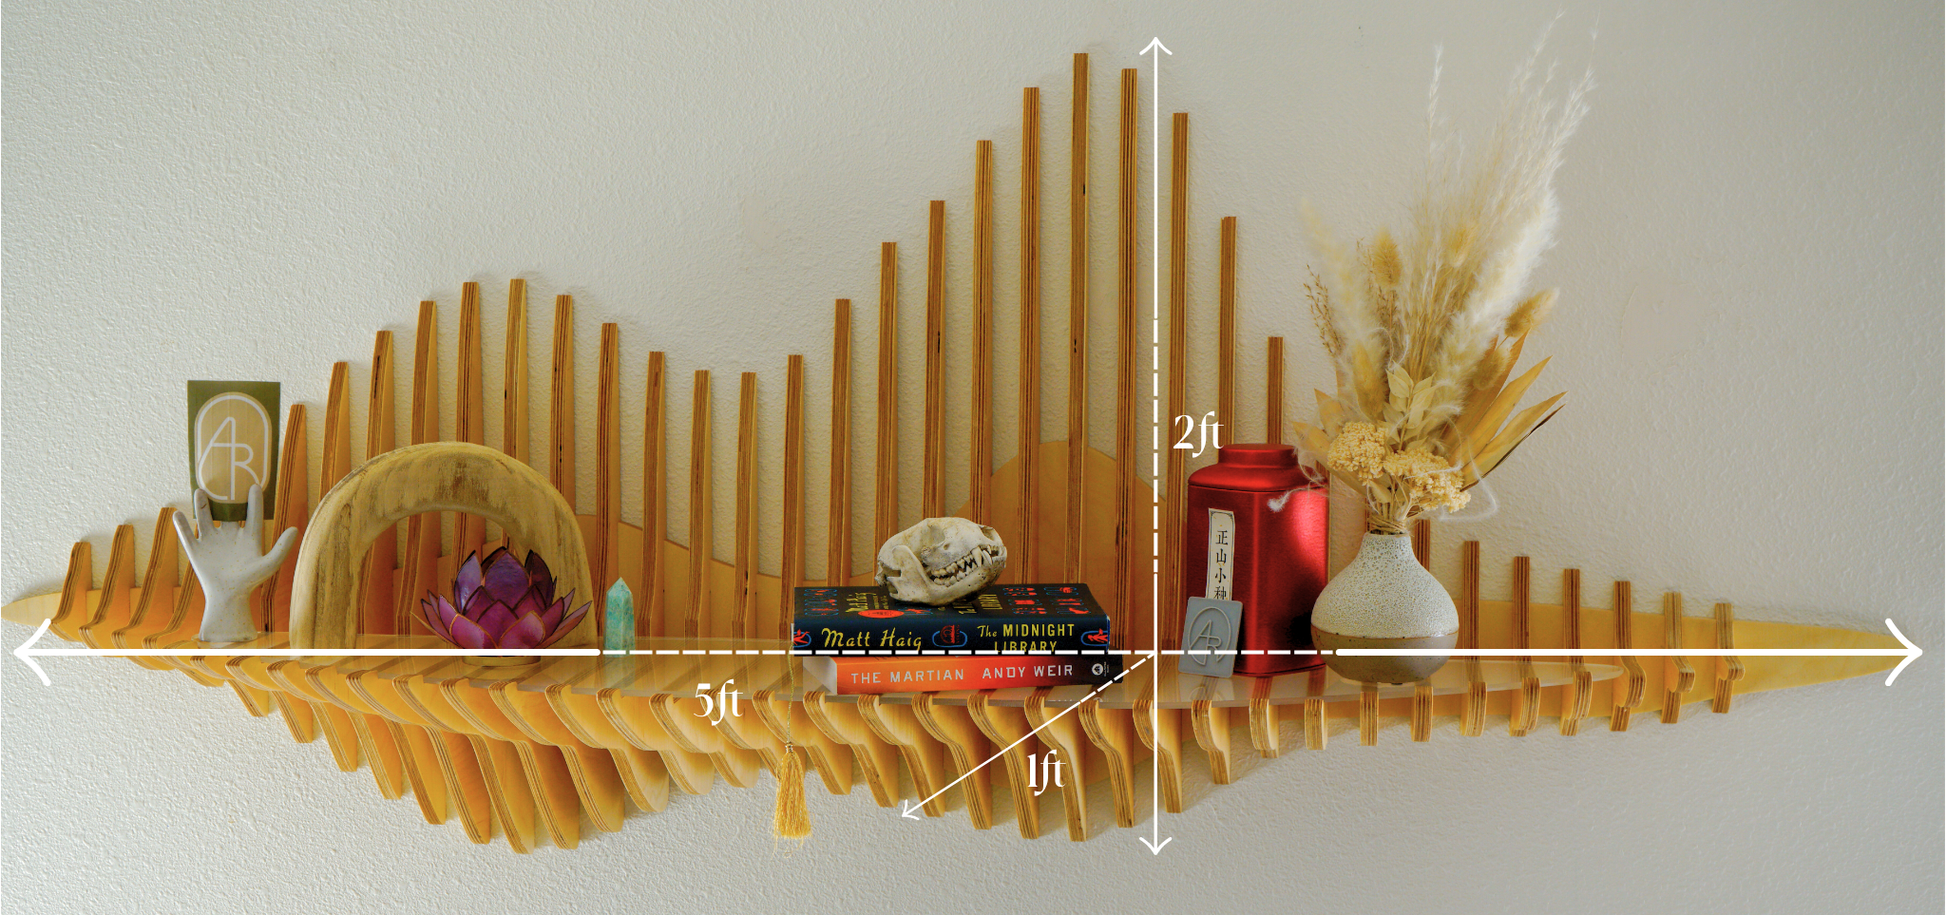
Dimensions:
Width: 5ft
Depth: 1ft
Height: 2ft
FAQ:
Can it hold heavy items?
Absolutely. Baltic Birch is strong and stable, and the recommended load for the included mounting hardware is 250+lbs.
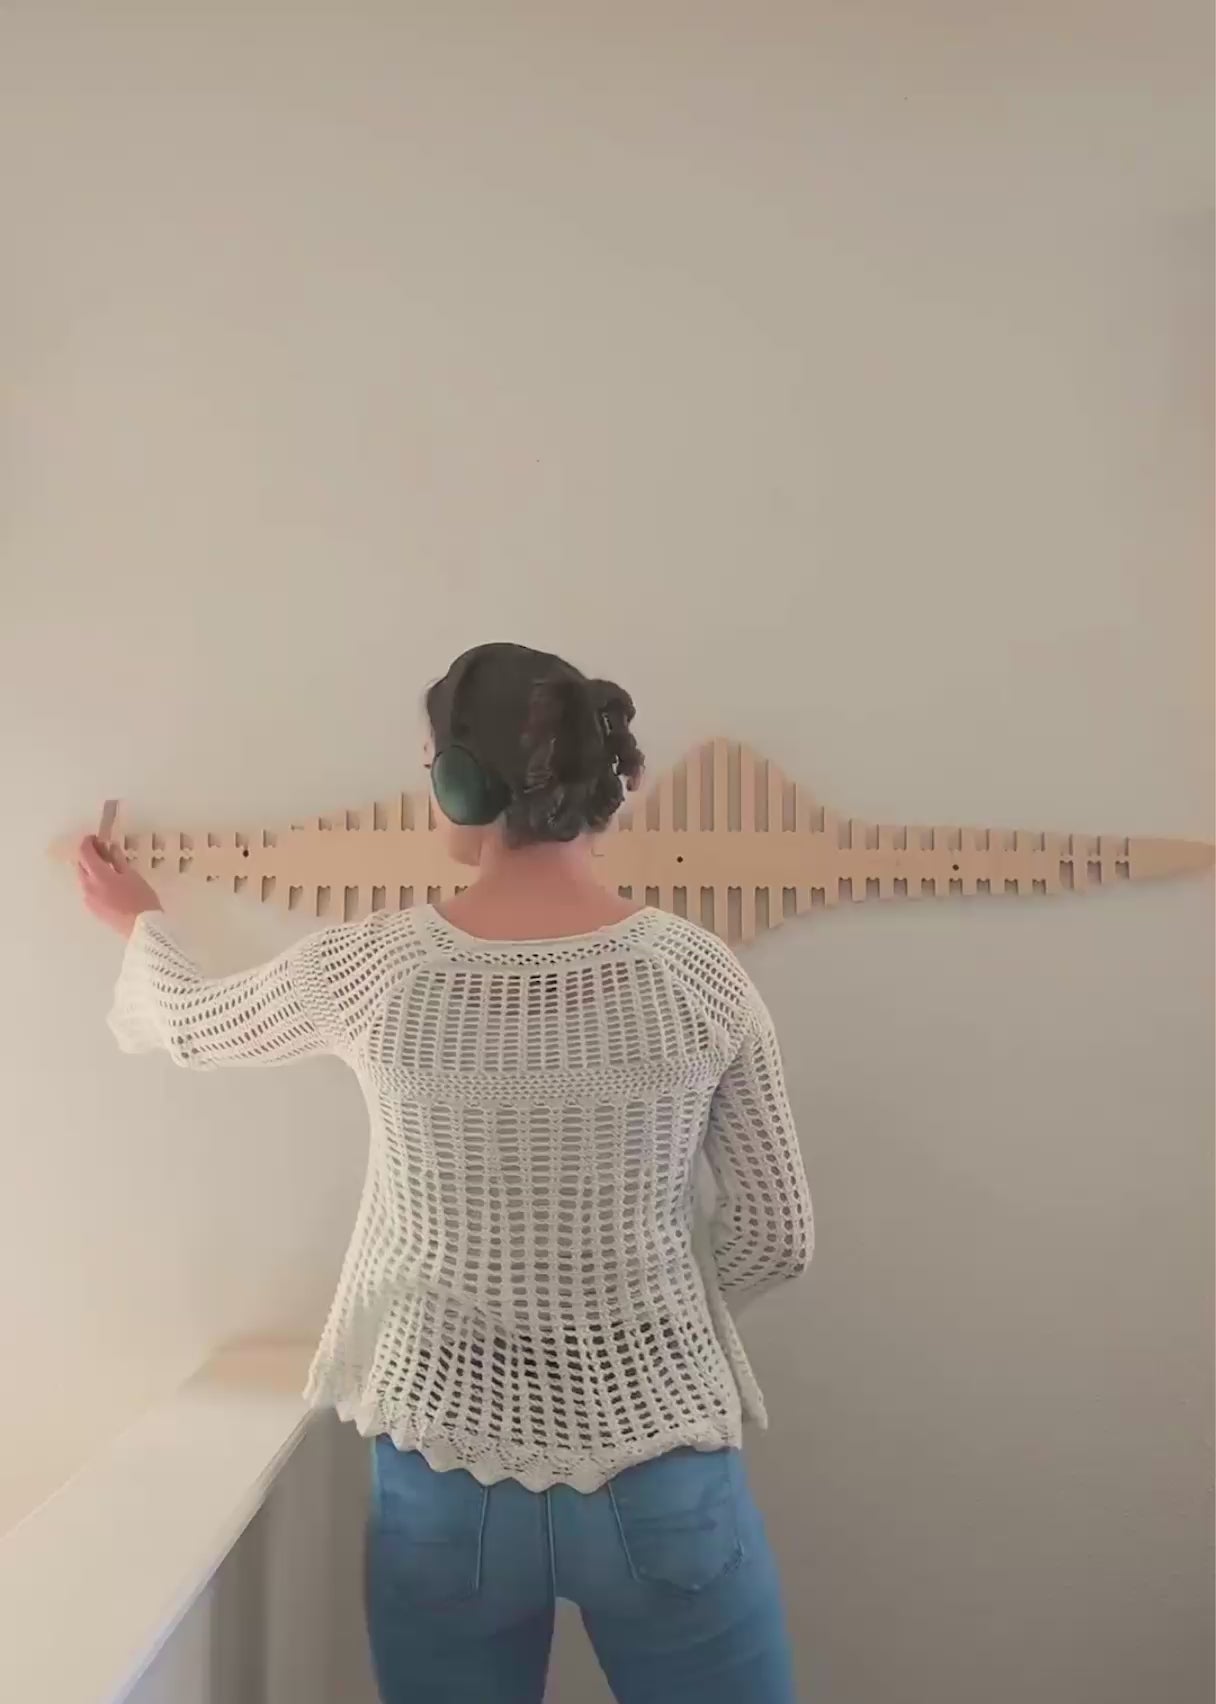
How do I install the shelf?
I'm glad you asked! Hours and hours have been spent crafting the easiest possible installation process. This is what we came up with:
- The shelf backing has predrilled and countersunk holes at the standard stud spacing interval of 16".
- We recommend using a stud finder to ensure the shelf is anchored to at least one stud on both the left and right half of the backing (backing will arrive in 2 pieces).
Abbreviated installation instructions:
- Gather a drill (not included), included hardware, left backing, right backing, acrylic top and slat #s 6, 16, 22 and 30. Place within arm's reach of where you are installing the shelf.
- Fasten one half of the backing to the wall with a GRK screw, then, connect the other half of the backing. At this point, the entire backing should be assembled and able to rotate freely, with the single installed screw acting as the pivot point.
- Insert slats 6,16,22 and 30. Pivot the backing such that it is roughly level. Place the acrylic top onto the installed slats. Set the miniature level on the acrylic top and rotate the shelf until perfectly level.
- Using a pencil (mechanical pencils work best), mark your wall with the remaining 3 hole locations.
- To make life easier for yourself, remove the acrylic top, slats and other half of the backing. Now, line the remaining hole up with the mark you made on the wall (it can be useful to use your phone flashlight to help you see the wall marking). Drill second screw into the backing.
- Connect other half of the backing. Screw holes should now line up with the marks you made on the wall. Drill two remaining screws into wall.
- Insert all of the slat pieces (x36).
- Place the acrylic topper on the shelf.
- Give yourself a pat on the back :)
What kind of skull is shown in the photos?
It's a raccoon skull I found while tromping around outdoors. Nature did a fantastic job cleaning it up and I think it is so beautiful!
Do you make custom versions?
I sure can, shoot me an email! Let’s chat!